ARCitect QuickStart
last updated at 2024-05-03In this guide we focus on how to use the ARCitect to create your ARC and structure, store and share your data.
Please make sure
☑️ The latest version of the ARCitect is installed on your computer
☑️ You have a DataPLANT account
💡 Consider reading about the ARC
Before creating your own ARC, invest some time to think about the following questions.
- What is my investigation?
- What is my study?
- Which assay did I perform?
- What is my (raw) dataset?
- What protocols did I use?
💡 It might help to have this info ready in a text file. In particular, try to think about useful names (identifiers) for investigation, study and assay.
- Start the ARCitect
- Create a New ARC (2)
- Select a location and name for your ARC

💡 By default, your ARC's name will be used:
- for the ARC folder on your machine
- to create your ARC in the DataHUB at
https://git.nfdi4plants.org/<YourUserName>/<YourARC>(see next steps) - as the identifier for your investigation
💡 Make sure that no ARC exists at https://git.nfdi4plants.org/<YourUserName>/<YourARC>. Otherwise you will sync to that ARC.
💡 Avoid spaces in your ARC's name
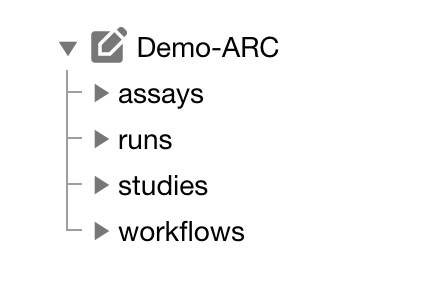
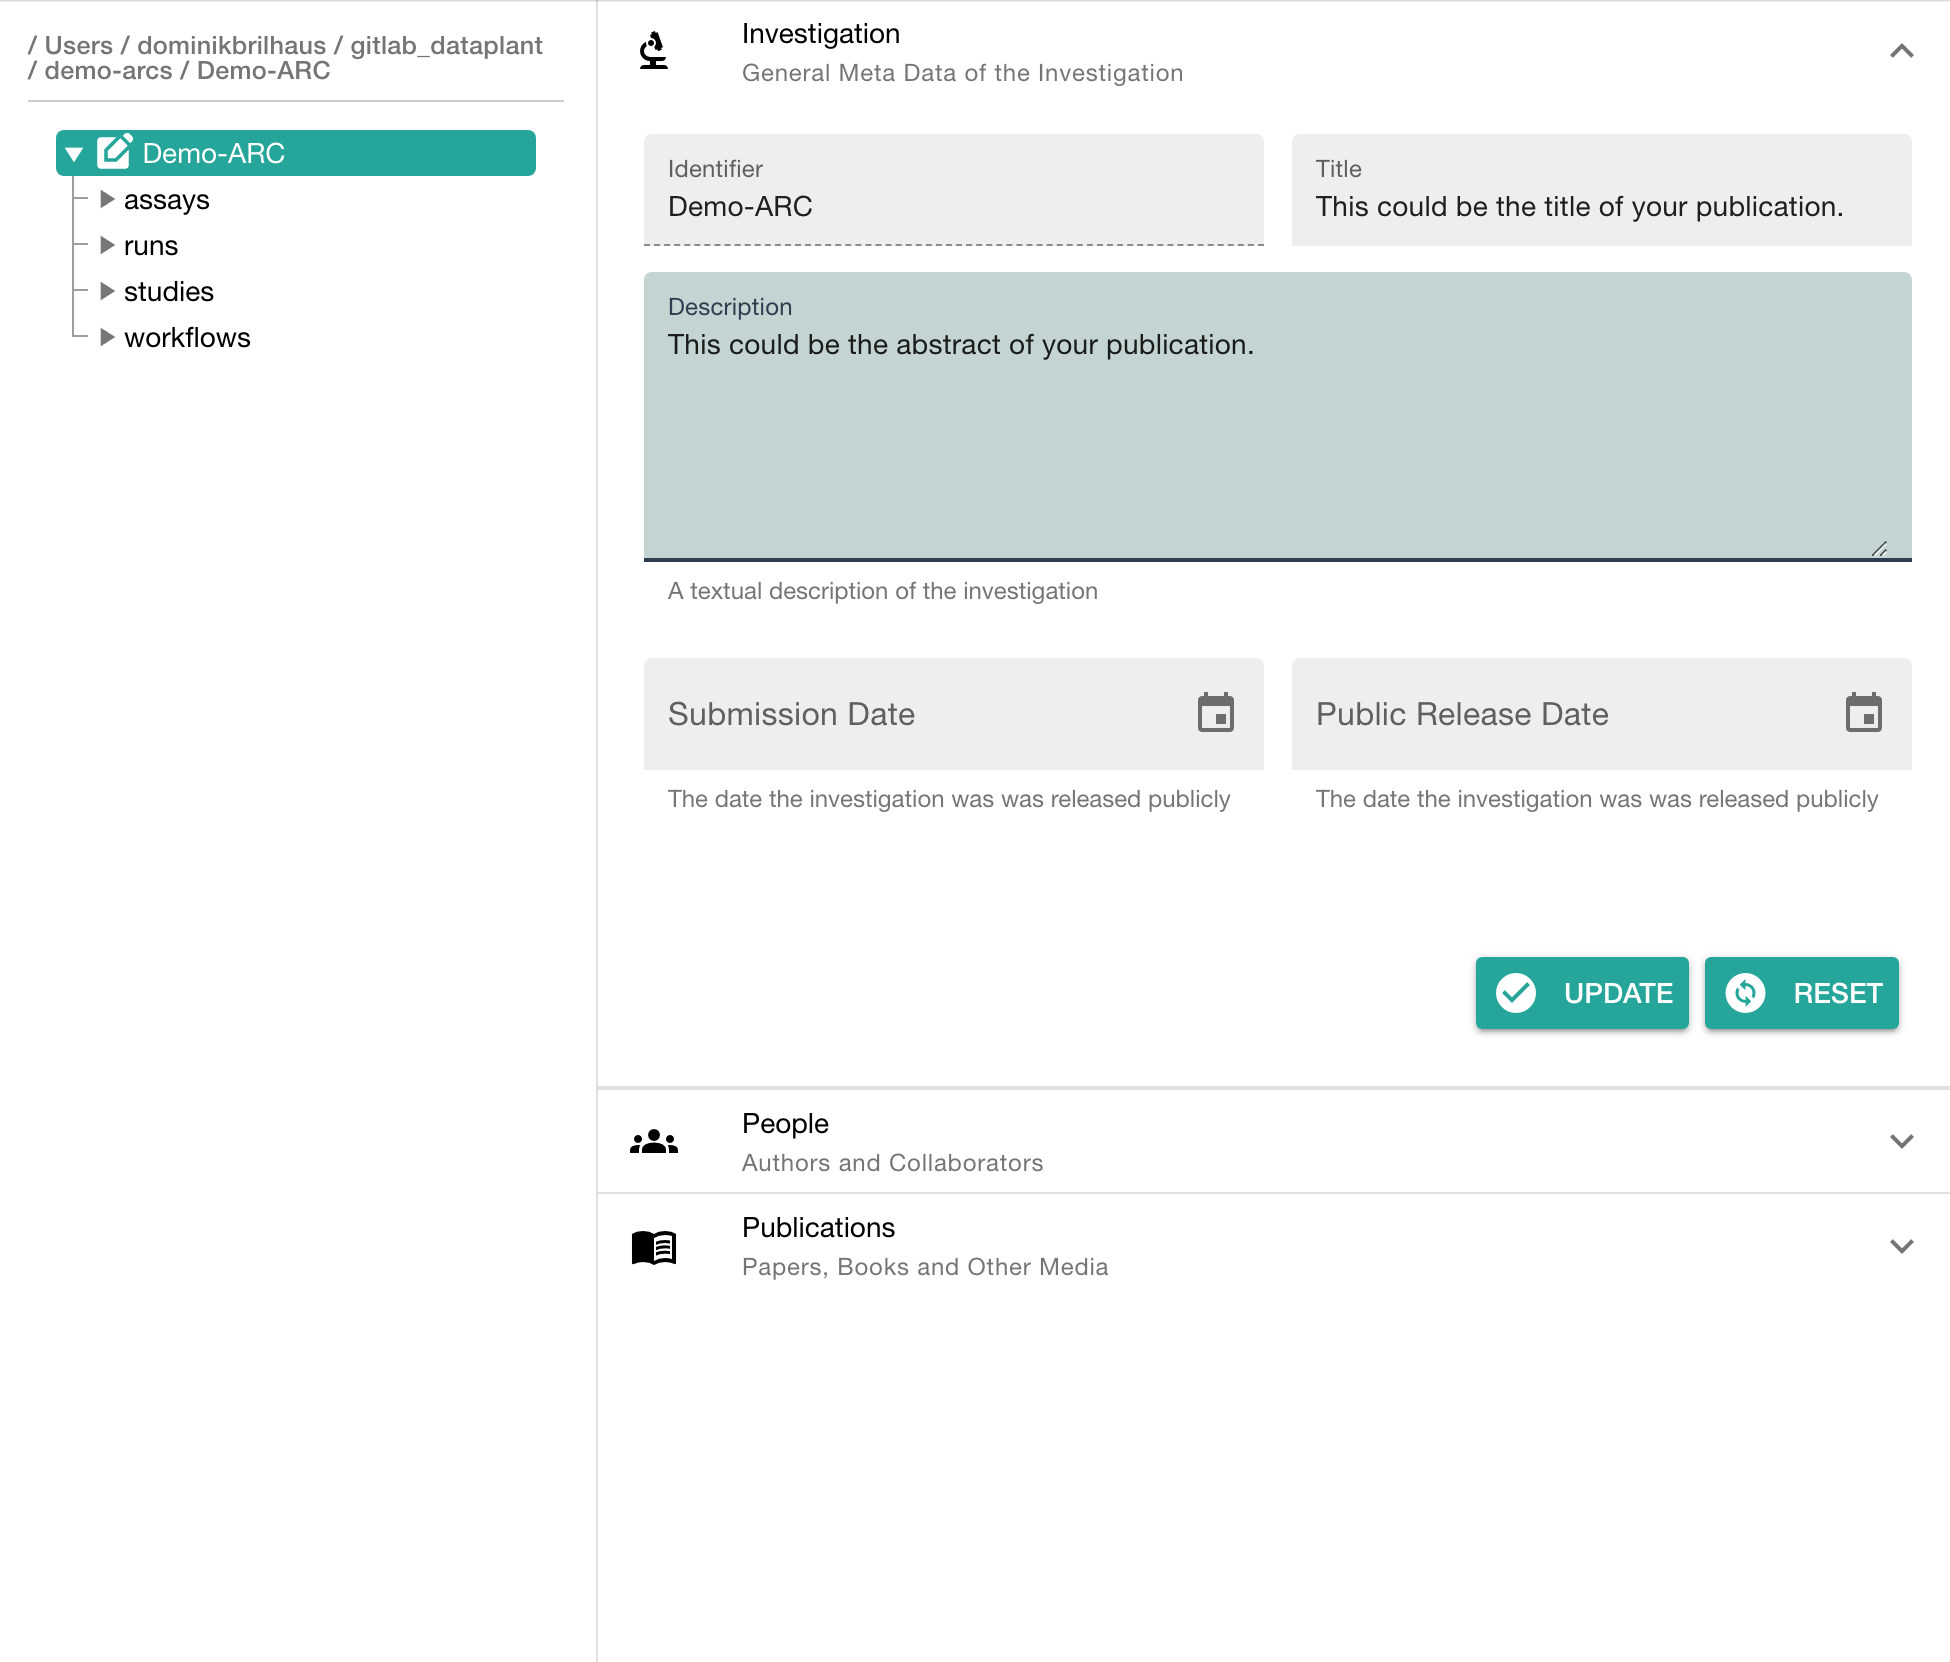
Click on your ARC's name to add details, such as
- a title
- a description
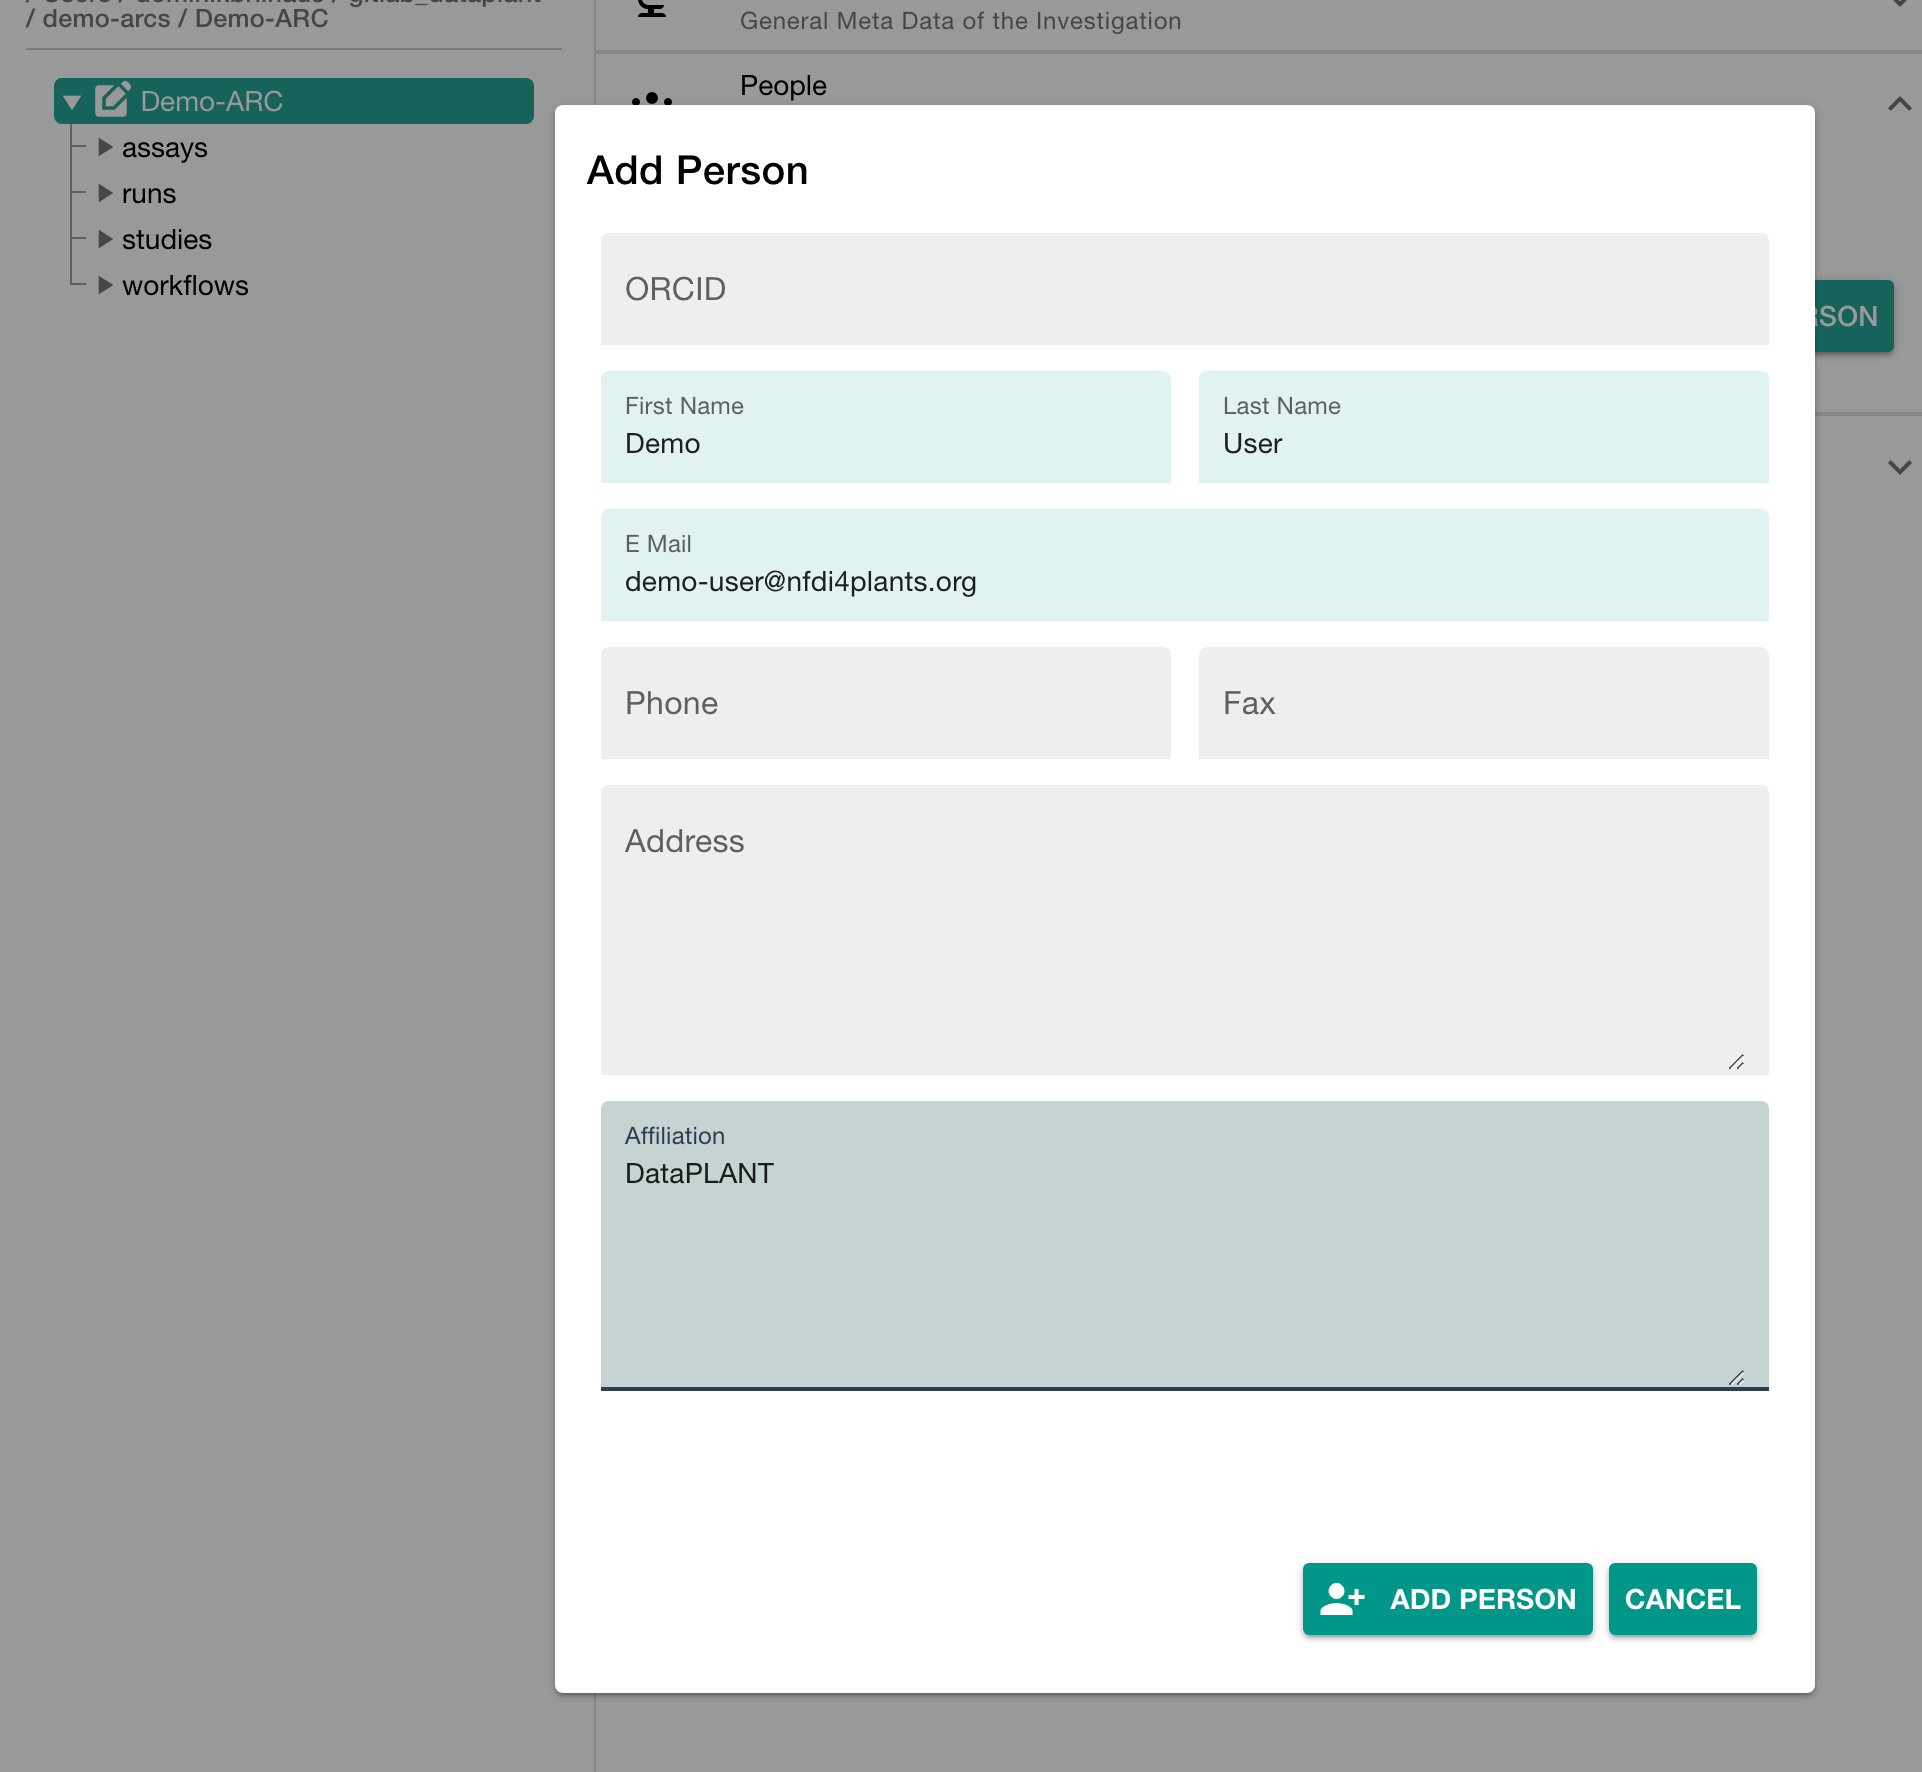
In the section "People" click "ADD PERSON" to add at least one contributor
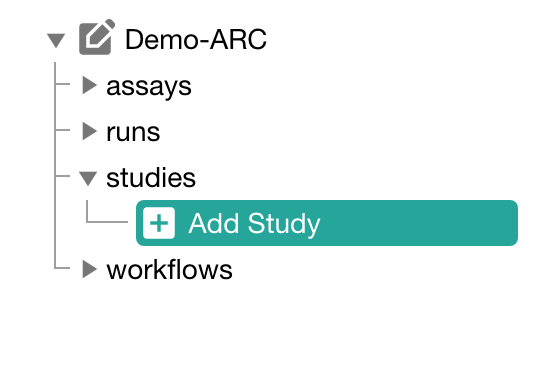
Click "Add Study" in the sidebar and enter an identifier
Click on your study's name to add details, such as
- general metadata,
- people,
- publications and
- factors
Here you can also link different assays to your study.
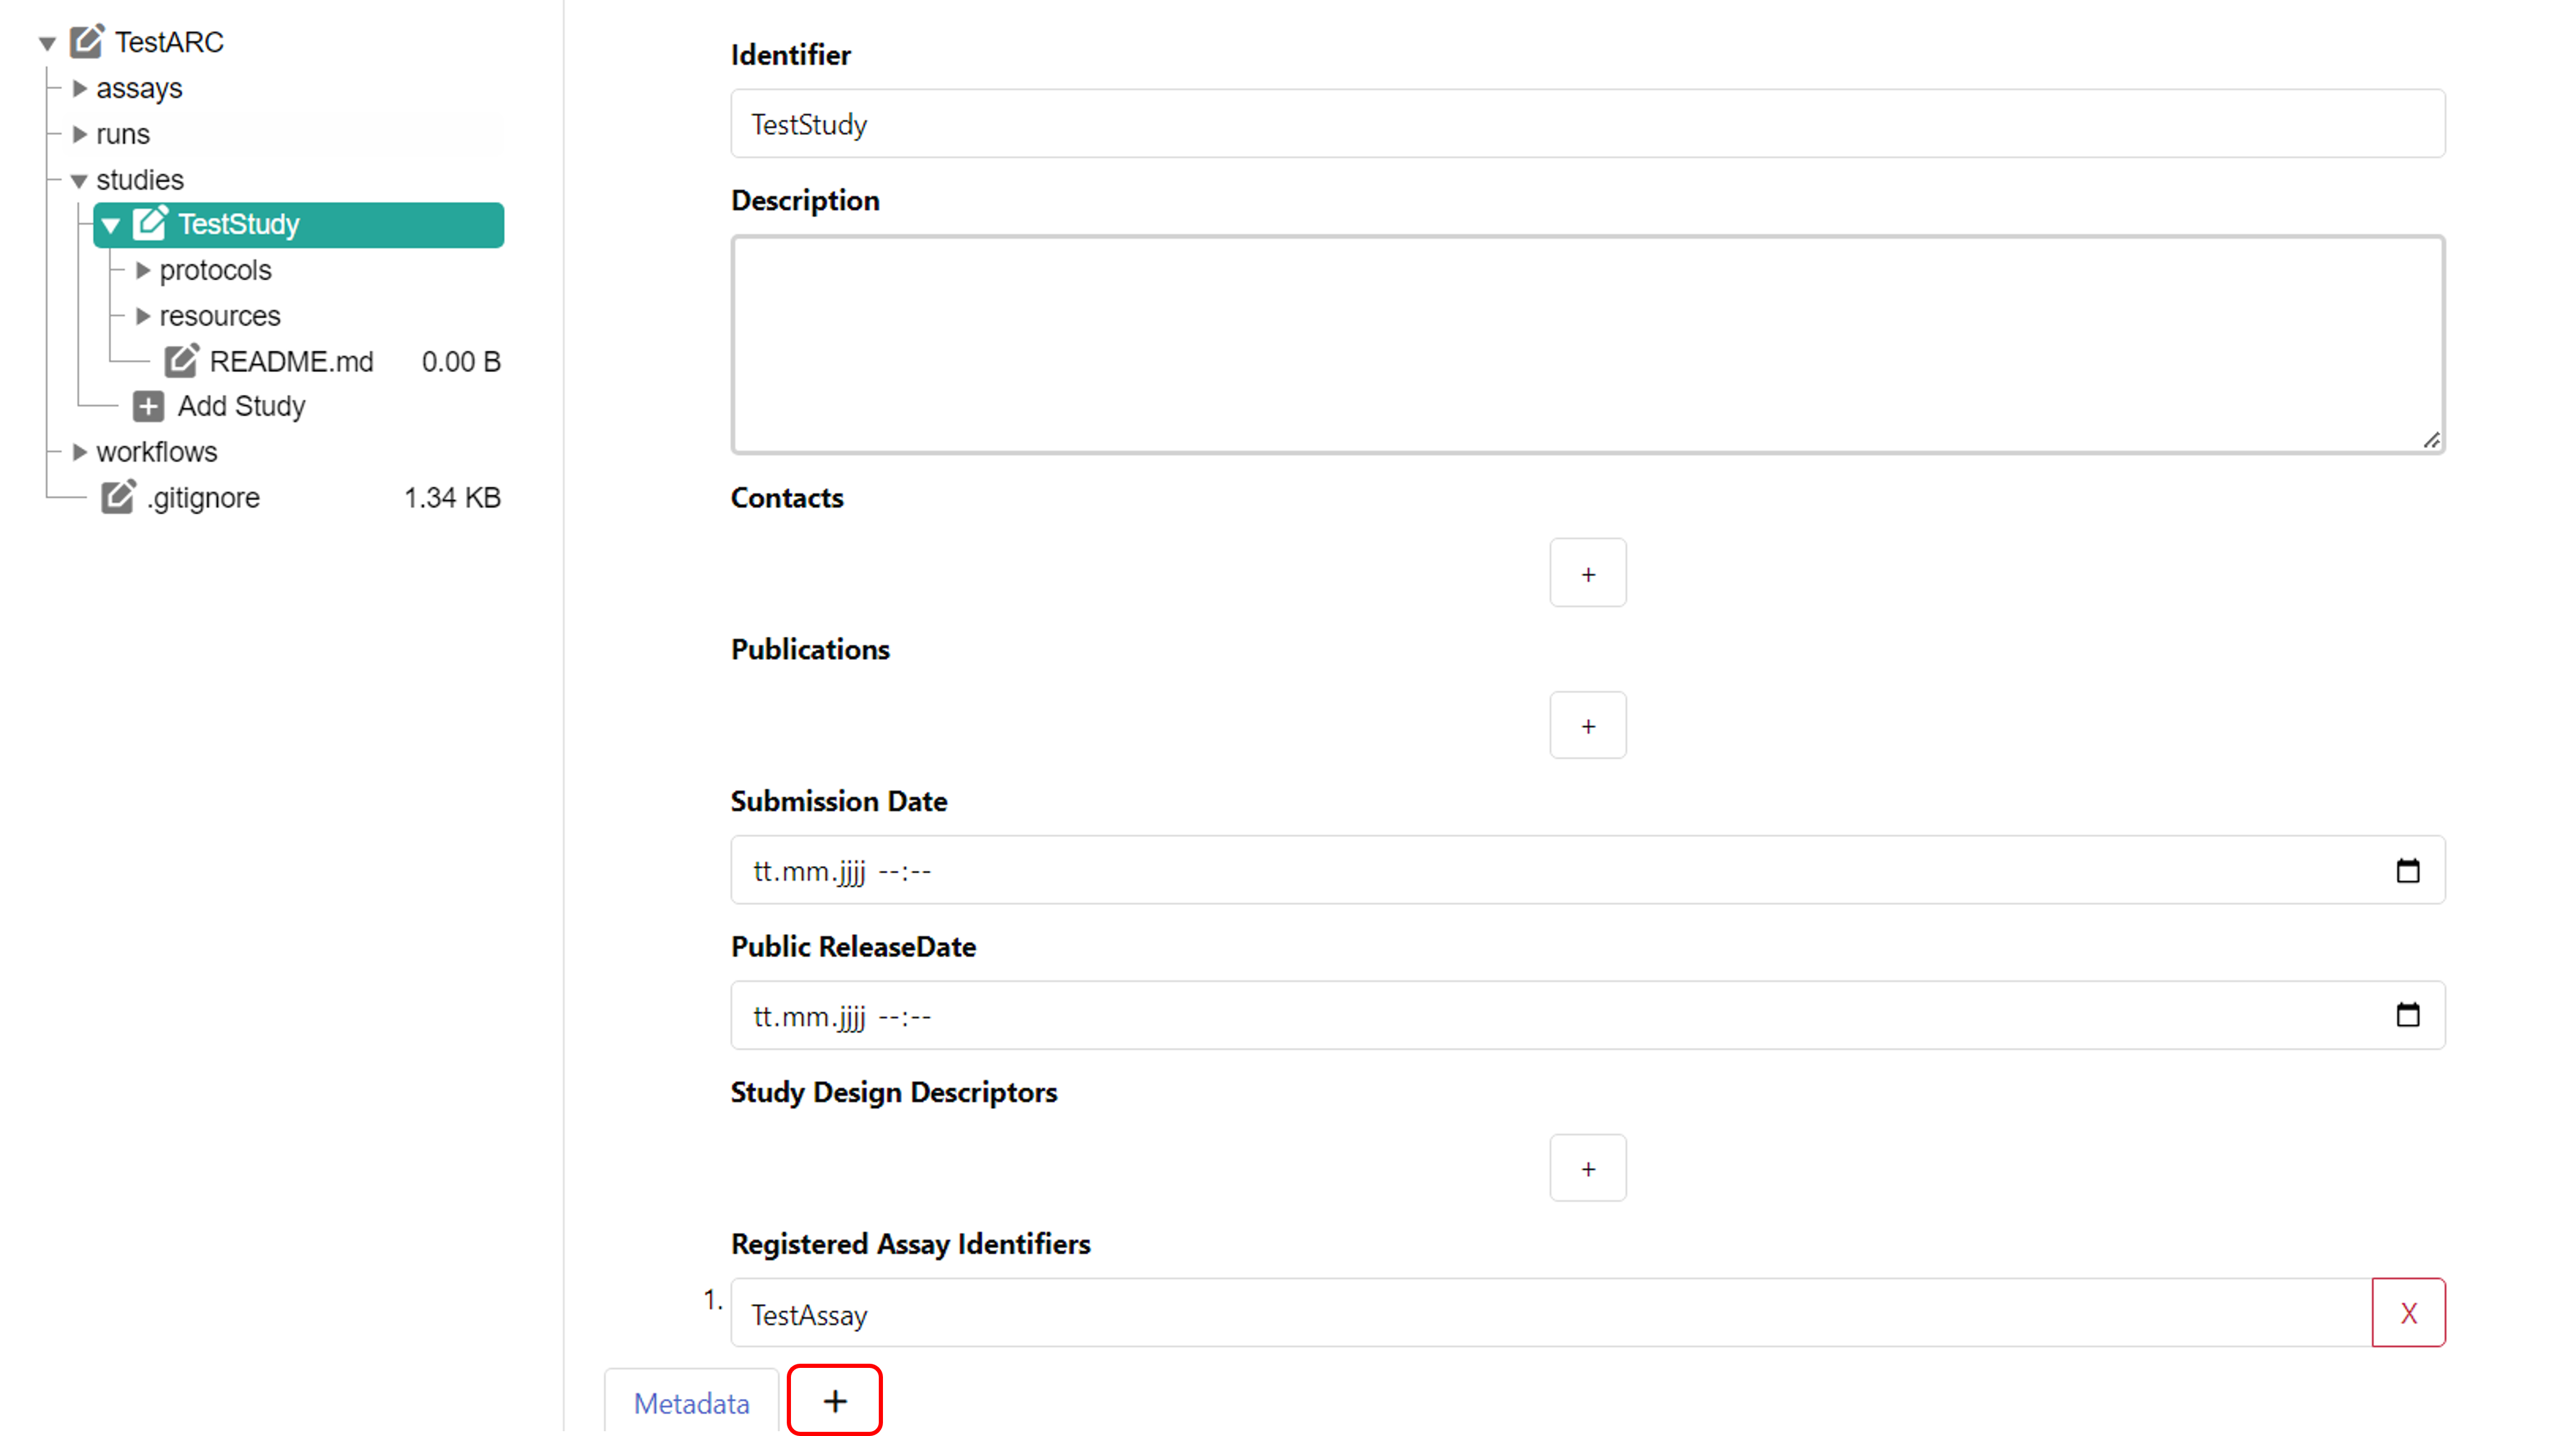
To add detailed metadata on your study, you can create an additional table sheet and create an annotation table. For this, click the plus symbol next to "Metadata" at the bottom of your window. The tool Swate is integrated into ARCitect and will automatically be used, when creating an annotation table. Please check the Swate Quickstart and the Swate Manual for detailed information and guides.
Click "Add Protocol" in the sidebar to add a protocol to your study
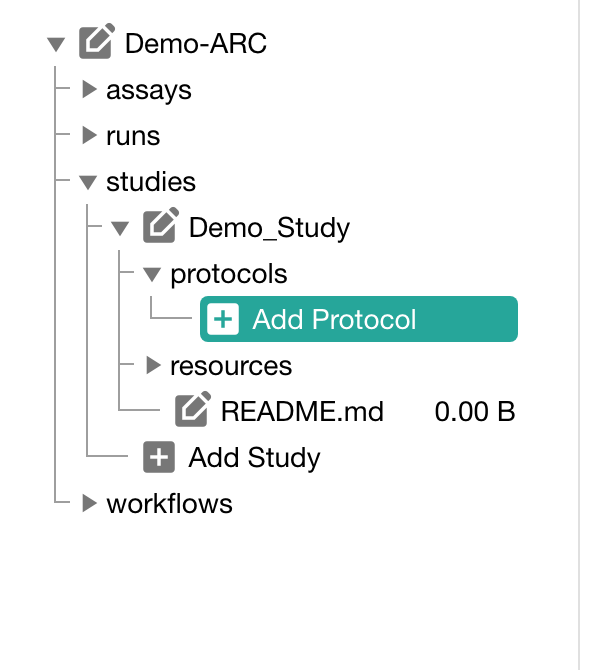
You can either
- directly write a new protocol within the ARCitect or
- import an existing one from your computer

Click "Add Assay" in the sidebar and enter an identifier
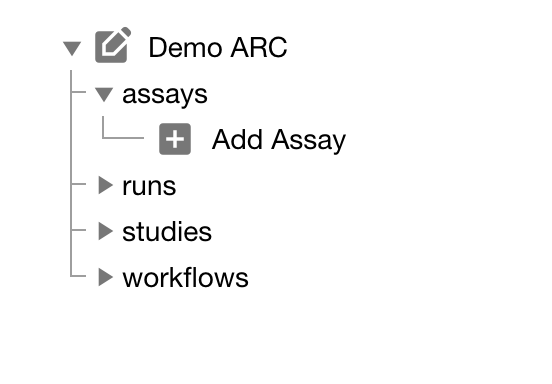
You can either
- link your new assay to an existing study in your ARC or
- create a new one (with the same name as the assay)

In the assay panel you can define the assay's
- measurement type,
- technology type and
- technology platform.
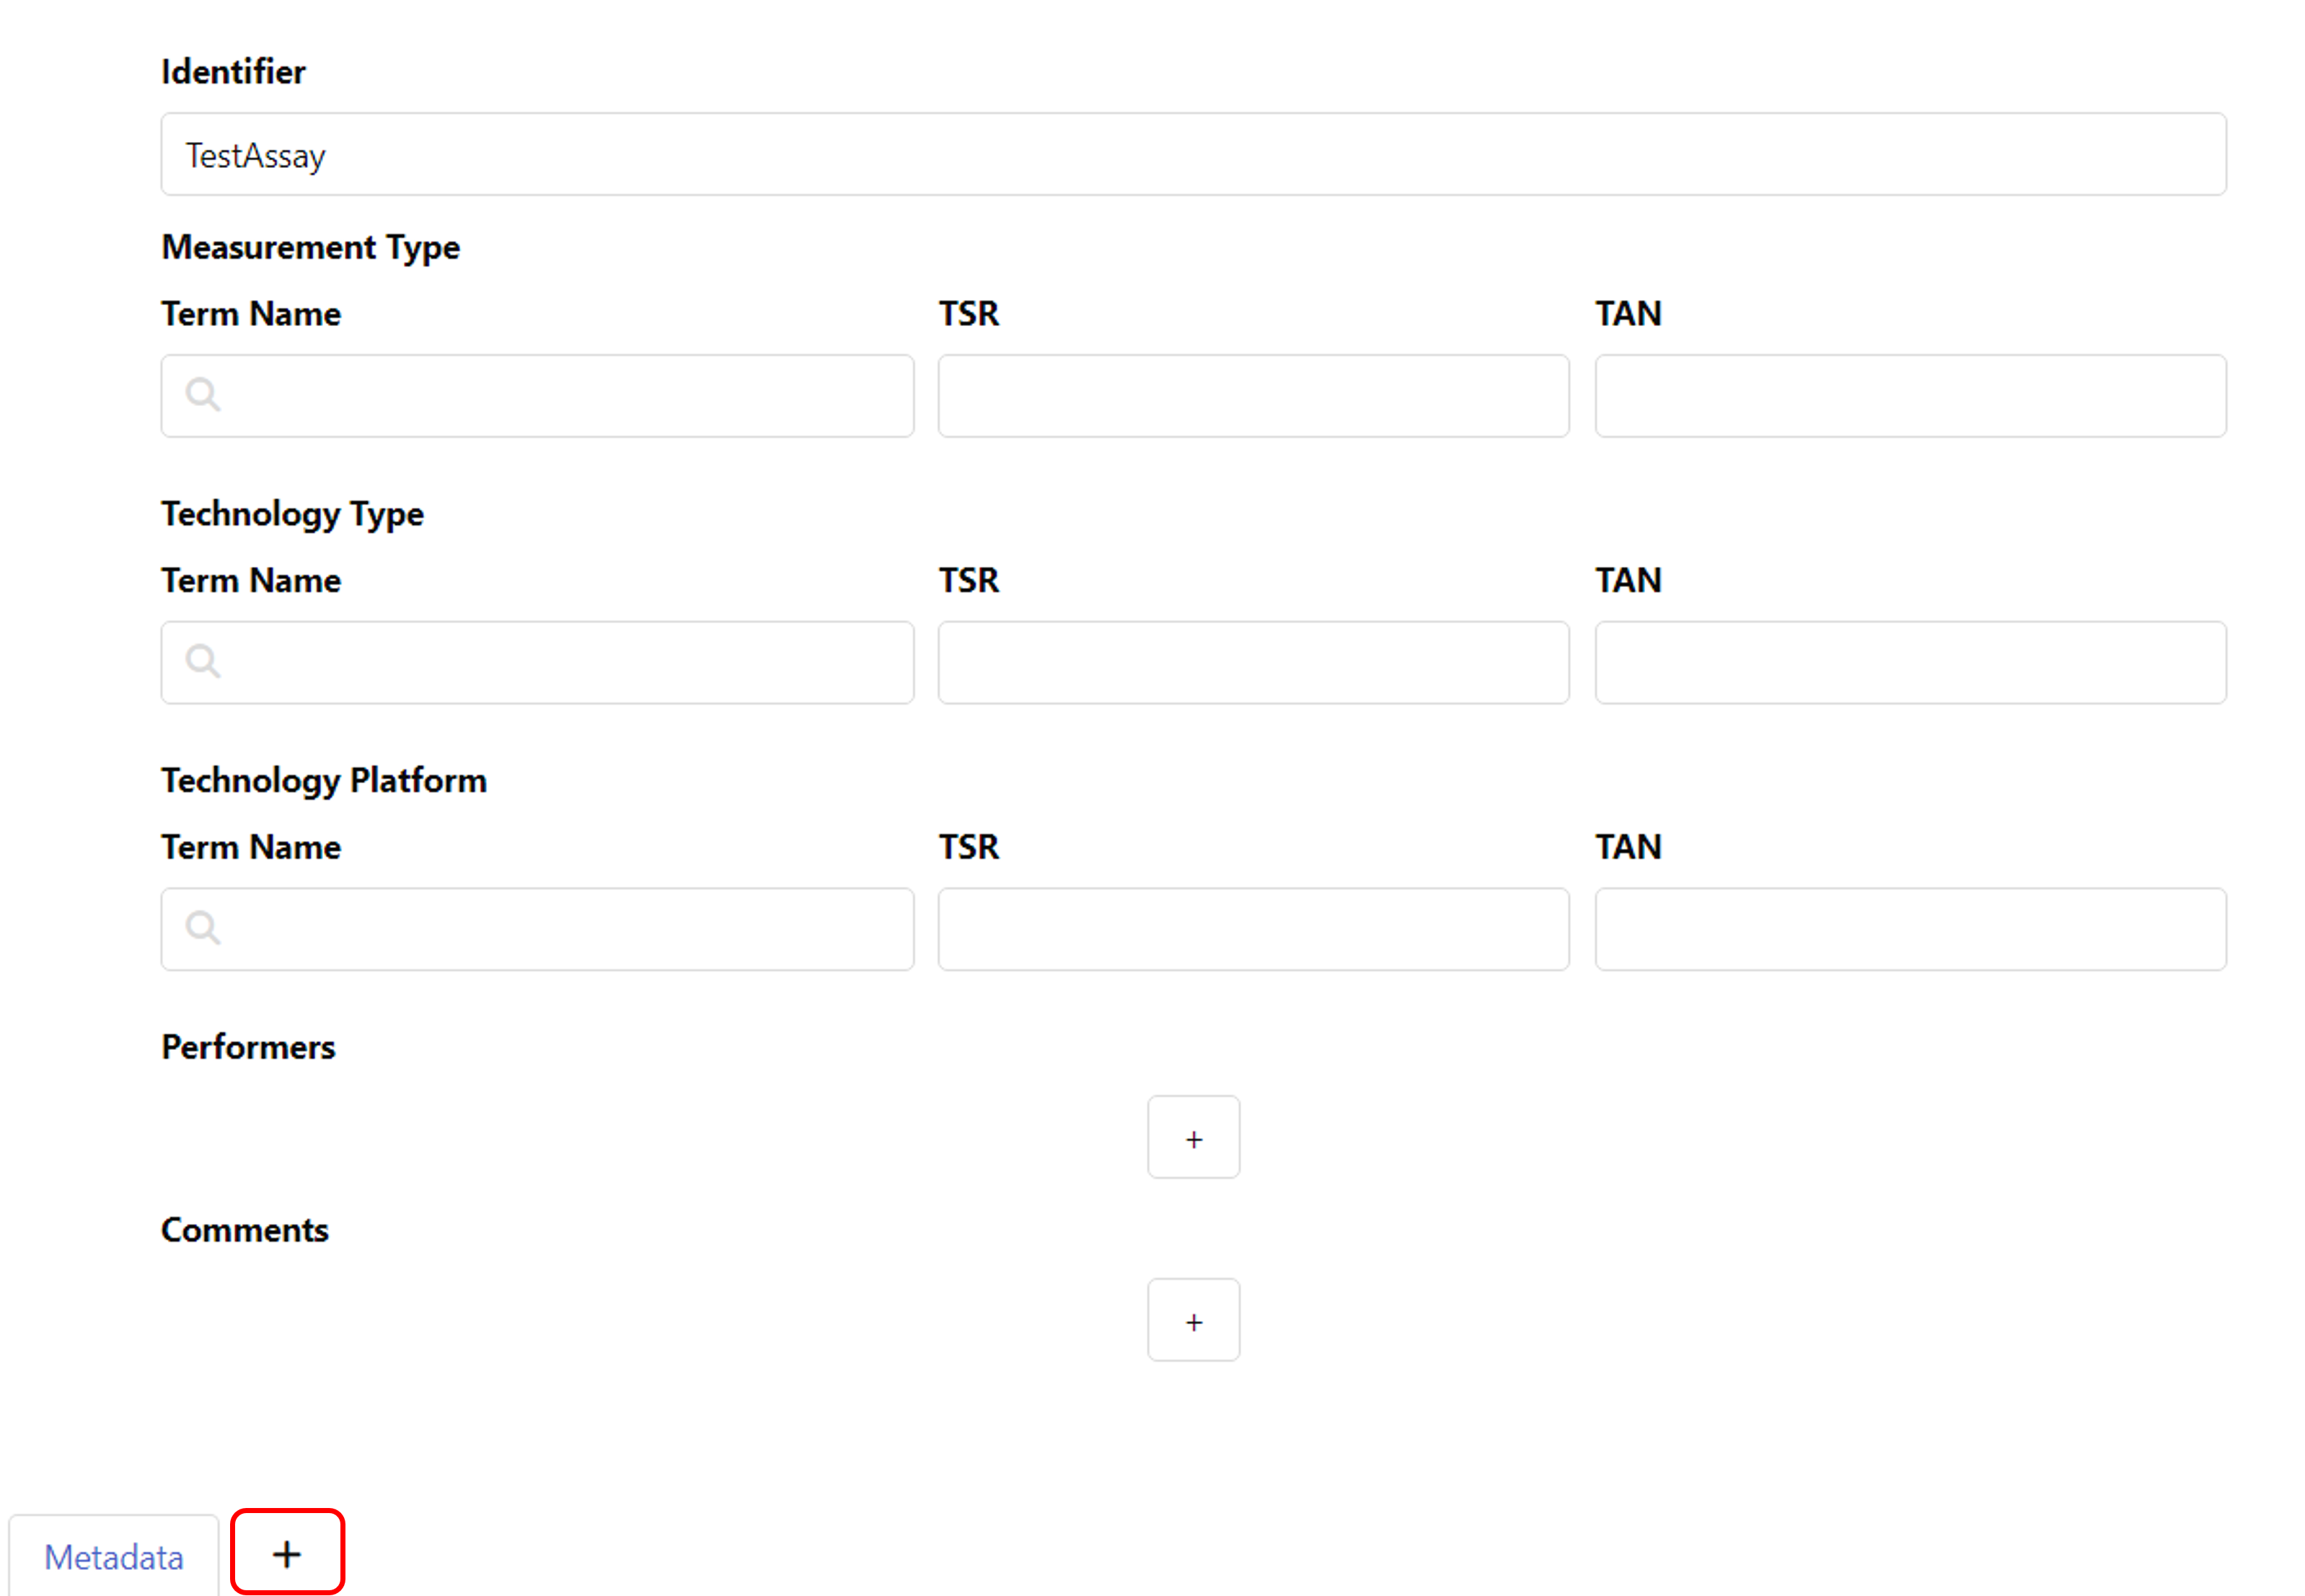
To add detailed metadata about your assay, you can create an additional table sheet and add an annotation table. For this, click the plus symbol next to "Metadata" at the bottom of your window. You can find guides on creating and filling annotation tables in the Swate Quickstart and the Swate Manual.
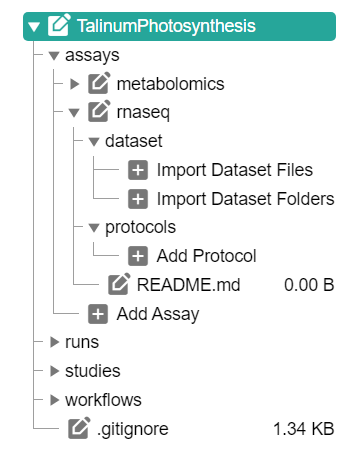
In the file tree you can
- add a dataset and
- protocols associated to that dataset.
💡 Add Dataset allows to import data from any location on your computer into the ARC.
⚠️ Depending on the file size, this may take a while. Test this with a small batch of files first.
Click Login (1) in the sidebar to login to the DataHUB.
💡 This automatically opens your browser at the DataHUB (https://git.nfdi4plants.org) and asks you to login, if you are not already logged in.
If you are logged in, the versions panel shows
- your DataHUB's Full Name and eMail
- the URL of the current ARC in the DataHUB
https://git.nfdi4plants.org/<YourUserName>/<YourARC>
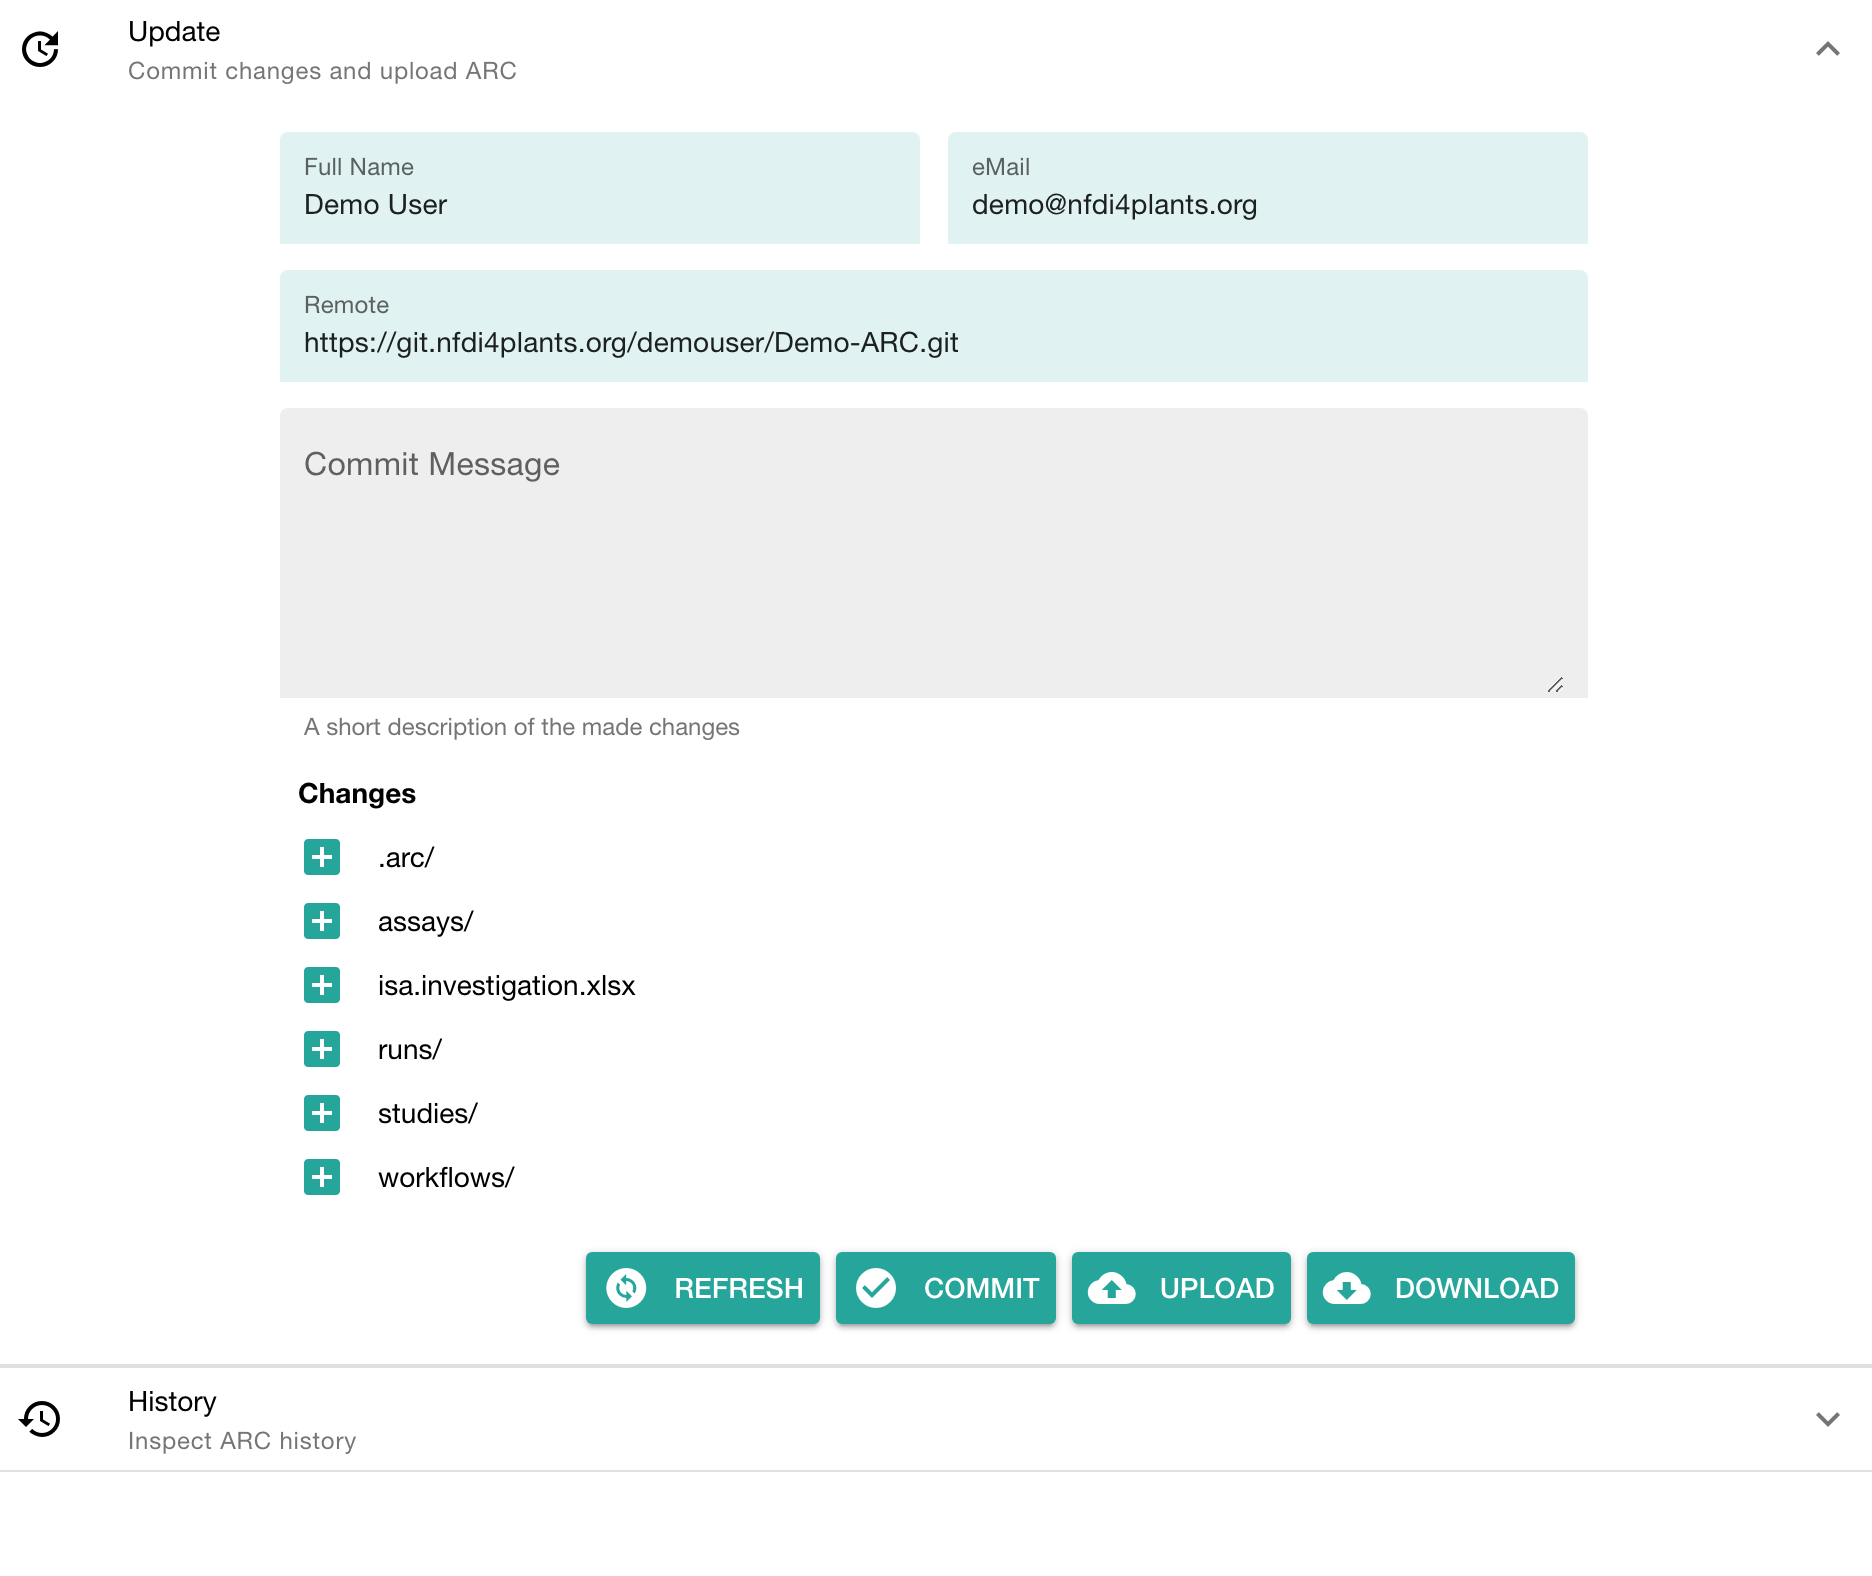
The versions panel allows you to
- store the local changes to your ARC in form of "commits",
- sync the changes to the DataHUB, and
- check the history of your ARC
To upload your ARC:
- Enter a "commit message" to shortly describe the changes to your ARC
- Click COMMIT to save your changes locally
- Click UPLOAD to upload your ARC to the DataHUB
- sign in to the DataHUB
- Check your projects